The official name of this is really “The thing she really wanted…” mainly as we are not sure what to call it? However it is an old wooden tongue ‘n’ groove cupboard door. Xaria wanted to make a crafty thingy out of it and I said ok… Lets do it. So what can we make…?
-

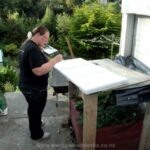
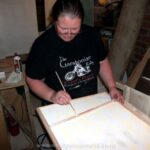
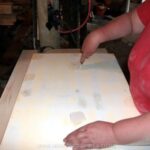
- Now go to computer and design what is going on it. I have already changed this layout.
-
- Now go to computer and design what is going on it. I have already changed this layout.
-
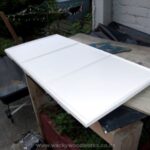
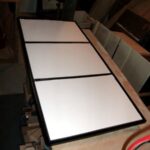
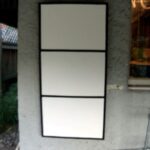
- Let dry and give a couple of coats. One door that still looks like a door? Wait what…???
-
- Now take out side to paint bench and well… paint.
-
- More brad nailing
-
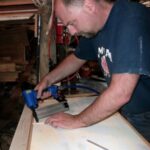
- Brad nailing edge frame
-
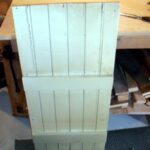
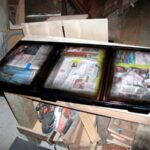
- Cut out some edging banding and glue and brad nail on edges… then use small scotia for frame edging and glue and brad nail on. Xaria wants three sections.
-
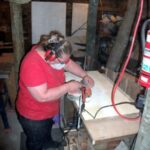
- Then sand some more… and some more after that… I am glad it wasn’t hand sanding… thank goodness for power tools especially sanders…
-
- Now use poly filler to bog the holes. Let dry and re-sand.
-
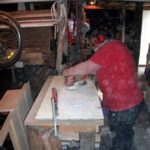
- First start sanding and feather the holes and flaky paint…
-
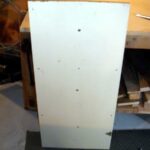
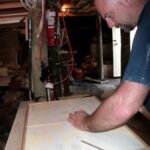
- The front however is pretty battered…it was just ripped out when we pulled out the old coal range and was part of the hot water cylinder door (or something like that) It use to have Gibb on the face of it and the screws were just ripped out not un-screwd leaving large holes. But lets have a go at making it look good for something… (As this stage I am not sure what we are making) No problem, will give anything a go…
-
- This is the back and doesn’t need to be touched, as it is not seen. However I fix a little bit.
-
- Tape up the centre ready for some edge colour.
-
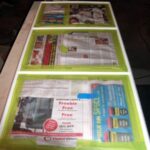
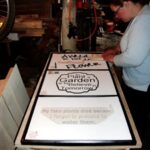
- Three sections so three messages. We print and cut later on.
-
- Spray the edge black…
-
- I wanna go too… 🙂
-
- Let dry.
-
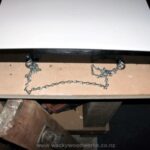
- Add the hooks and chain.
-
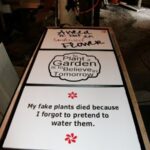
- One Artsy hanging door wall art thingy…
-

- Rehang out on the entertainment deck.
-
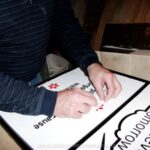
- Peeling off transfer paper.
-
- Place where you want and peel off the transfer tape
-

- Weed the excess vinyl … then cover with transfer tape (which the above photo does not show) , and you are ready to transfer your vinyl to the project.
-
- Push cut on computer an cut out vinyl. then watch and hope you have the settings right… don’t cut to deep, but make sure you cut deep enough… :-/
-

- Set vinyl in cutter…
-
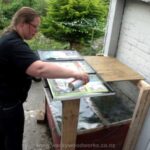
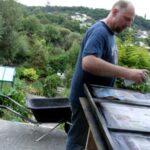
- Test hang… yes will be good on the entertainment deck…